
Prior to certificate installation, please make sure that the CSR was generated, and the certificate was activated, validated, and issued.
The certificate needs to be downloaded from ZTABOX email. You can then use the files provided there for installation.
For this particular installation process, you will need three files:
- Your SSL certificate (the .crt file, or 'Security certificate') from the downloaded archive;
- The Certificate Authority bundle (the .ca-bundle file) which can be located in the archive you downloaded from email. If you download the certificate archive from the email sent by COMODO, the bundle might be broken into three pieces, such as COMODORSADomainValidationSecureServerCA.crt, COMODORSAAddTrustCA.crt, and AddTrustExternalCARoot.crt. In this case, it will be necessary to combine them into a single .crt file in the following order:
- COMODORSADomainValidationSecureServerCA.crt
- COMODORSAAddTrustCA.crt
- AddTrustExternalCARoot.crt.
- The private key. This code should have been generated on your server along with the CSR code that was used for certificate activation. This code is confidential. It is not provided to us at any stage of the certificate processing so it can only be found on the server or other location where the CSR was created. You can refer to article 'How can I find the private key for my SSL certificate' for more information.
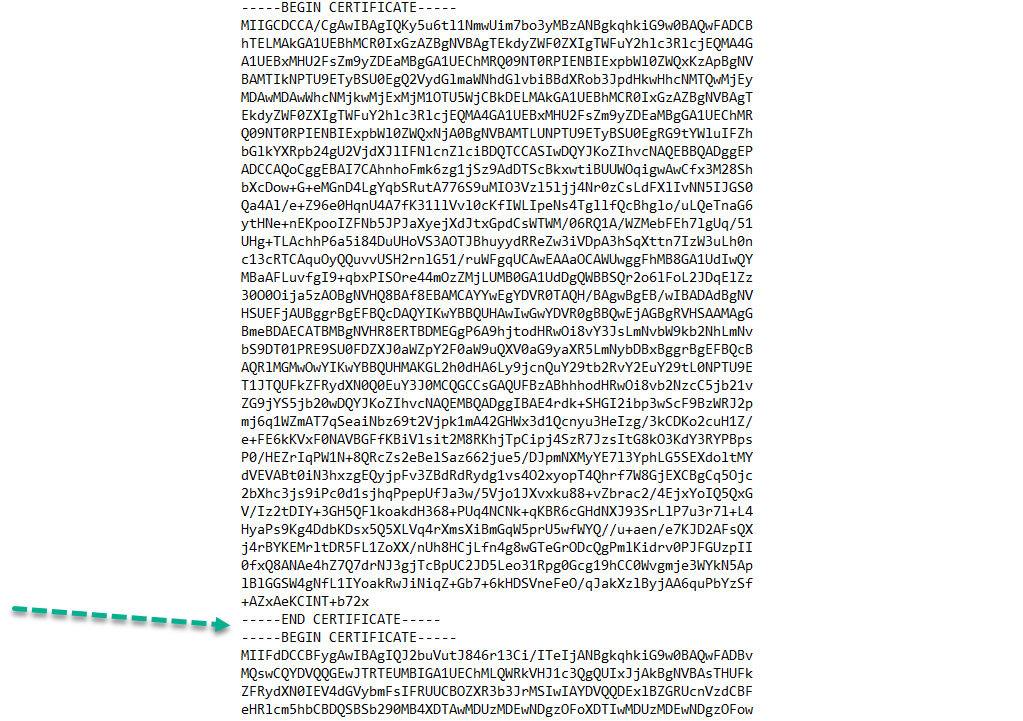
You can use the regular text editor on your computer to combine them, but it's essential to make sure that there are no blank spaces between the three codes as shown below:
Once you have all the needed files and are sure that the certificate matches your private key (which can be checked using this tool), you can start the installation by following the steps below.
- Upload the aforementioned files to the server. It may be more convenient to use a single folder to store the files (such as xamppapachessl), however, you can upload the files to any directory on the server that's convenient for you.
- Locate the configuration file for your website. There are two ways to locate it:
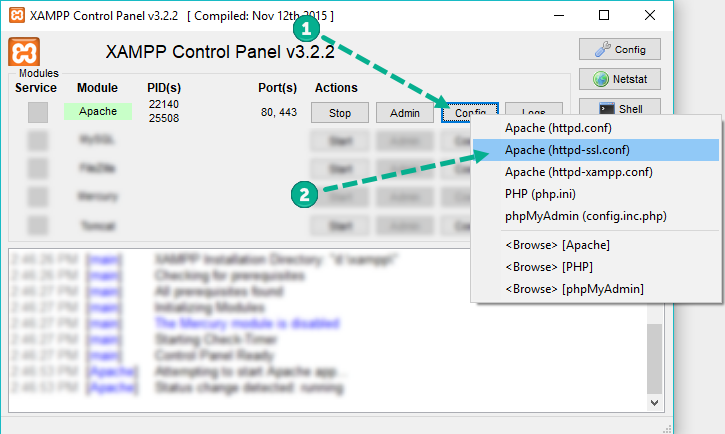
- Directly from the XAMPP control panel:
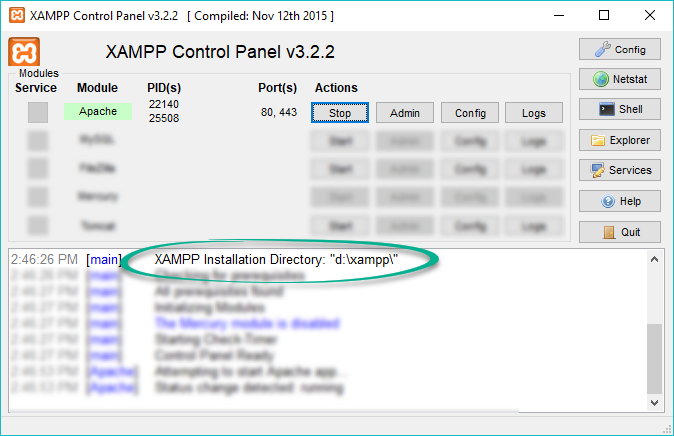
- Using file explorer. The path to the configuration file depends on the folder you chose during setup of XAMPP control panel. You can see the folder of installation when opening the panel:
The directory specified should contain the Apache folder. From there, navigate to the conf folder > extra folder > httpd-ssl.conf file. You can open the file with any text editor.
- Edit the configuration file with the virtual host for port 443 and save the changes. Here is the example of the block that should be added:
DocumentRoot "/var/www"
ServerName yoursite.com
ServerAlias www.yoursite.com
SSLEngine on
SSLCertificateFile "D:/xampp/apache/ssl/yourdomain_com.crt"
SSLCertificateKeyFile "D:/xampp/apache/ssl/yourdomain_com.key"
SSLCACertificateFile "D:/xampp/apache/ssl/yourdomain_com.ca-bundle"Please make sure to use your own paths and filenames in the certificate directives.
Note: Usually, there is a self-signed certificate already installed on the server. In this situation, it is not necessary to add another virtual host.The existing one for port 443 should be edited with the paths to your new trusted certificate, bundle, and private key.
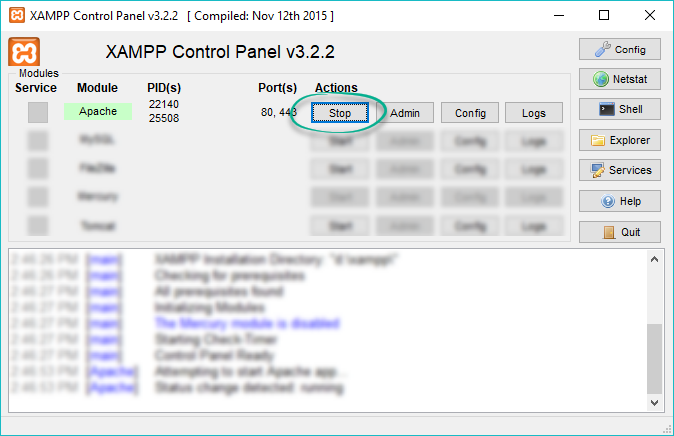
- After the changes are saved, restart the server. This can be done via the XAMPP control panel by stopping Apache:
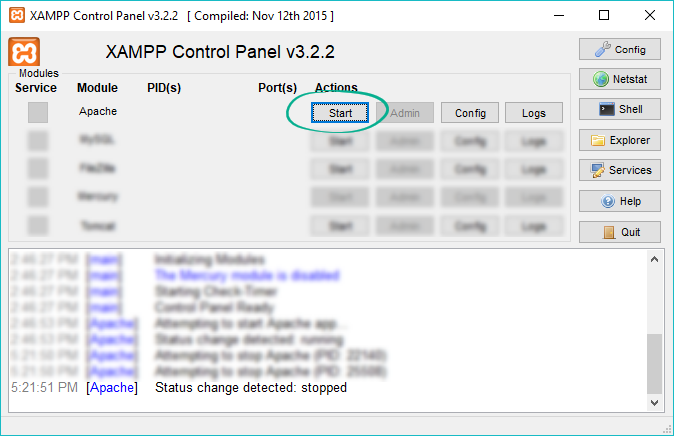
And then starting it again:
Once the above steps are completed, you can check the installation using this tool.